
Painting and editing / USER GUIDE
Image, text, and shape stamps
Place stamps on a model
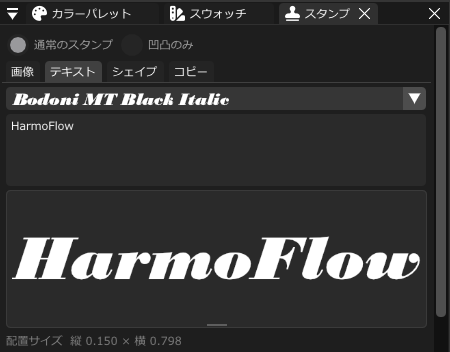
The Stamps panel has Image, Text, Shape, and Clone tabs. For Image, Text, and Shape, configure the stamp, choose Place on Model, and click the model. These are placed as paint, so their original text or shape parameters cannot be edited afterward. To change them, undo and adjust the settings, or repaint on a dedicated layer.
Select the target texture set before placement. Clicking a surface in another set does not switch the destination automatically. Placing an image, text, or shape stamp while a non-Paint layer is selected creates a Paint layer.
Place relief without color
Image, text, and shape stamps support “Relief only.” Select an unlocked Paint layer and leave mask painting before enabling it. The stamp adds relief without color; adjust Raise/Lower and Height Amount in layer Properties. This mode also enables Normal from Height for the scene. Layer opacity and masks affect both color and relief. Relief only is unavailable in the Clone tab.
Resize and rotate while placing
In the viewport, Ctrl+Alt+left/right drag changes size and Shift+Space+left/right drag changes rotation. Shift+Space+left/right double-click resets only the rotation to zero. These are the default bindings. Image and shape size describes their size on the model; text size describes glyph height. These values use different units from the brush size display.
Size and rotation use horizontal drag distance. These stamp gestures apply to the 3D viewport, not the UV canvas.
Clone stamp
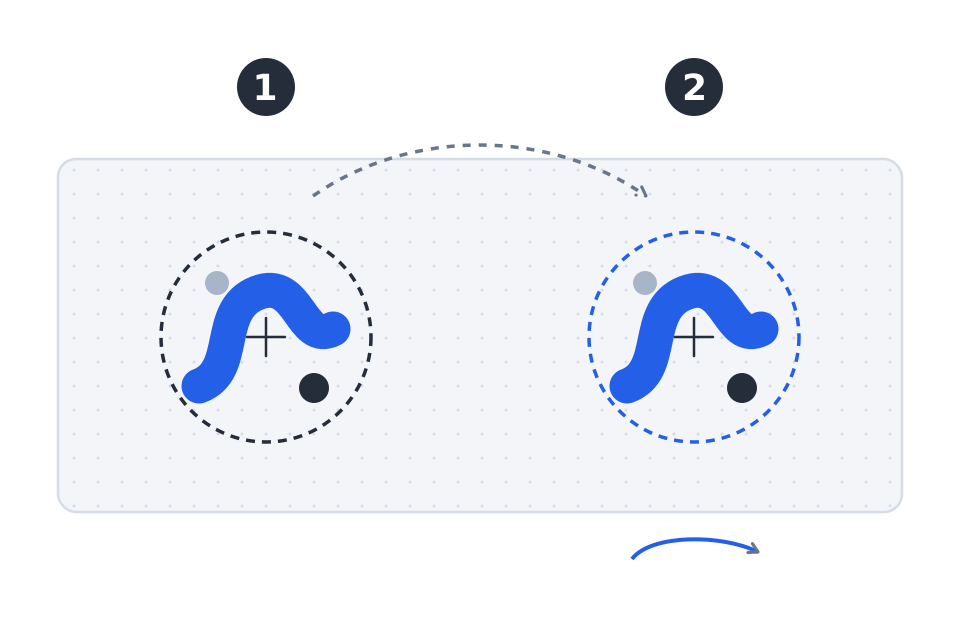
In Clone, choose the source on the model with the eyedropper gesture, Ctrl+Shift+left mouse button by default, then release the button to confirm. Drag on a paint layer to copy the composited BaseColor captured at that moment.
Aligned keeps the relative source position across strokes. When it is off, each stroke starts from the source again. Clone does not copy Normal or other channels, or screen colors with lighting applied.
Clone requires a visible, unlocked Paint layer. It cannot paint a mask, so switch back to the layer content first. “Clear source” removes the current source selection while preserving existing clone strokes.
Image, text, and shape settings
| Tab | Settings and uses |
|---|---|
| Image | Add or drop an image. Set size, opacity, and rotation to place patterns or decals. You can also right-click a project image and choose Register as Image Stamp to open it in the Image tab. |
| Text | Set the text, system font, size, opacity, letter spacing, line spacing, alignment, and rotation |
| Shape | Choose a rectangle, ellipse, polygon, or star. Set fill, line width, number of corners, star inner-radius ratio, size, opacity, and rotation |
Text styling and preview
Text supports font search and favorites, bold, uppercase, underline, and strikethrough. Press T to begin placing text. Text and shape previews let you toggle whether opacity is reflected in the preview. Stamp opacity is independent of brush opacity.
Image color and the selected color
An image stamp whose visible pixels are all white uses the current selected color while preserving its alpha. Colored images keep their original RGB. For a logo or symbol you want to tint, prepare white artwork on a transparent background. Image import supports PNG, JPG, JPEG, and TGA.