
Painting and editing / USER GUIDE
Brushes, erasers, and color
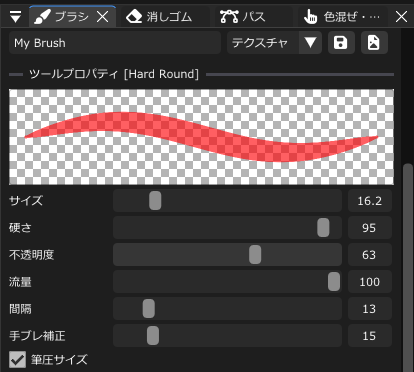
Brush
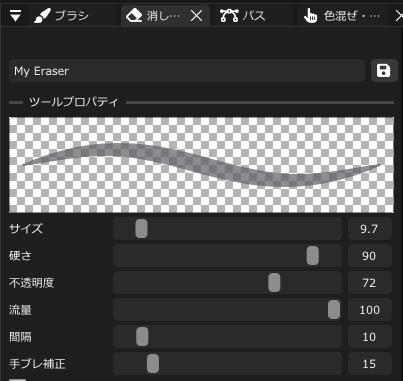
Eraser
Painting basics
Select a paint layer, press B to switch to the Paint tool, and drag over the model. Strokes retain information such as positions and normals on the surface, and are baked to the current UVs. Enable multiple PBR channels to paint properties such as color and roughness with the same stroke.
| Setting | Effect |
|---|---|
| Size | Stroke width. You can also use the bracket keys or Ctrl+Alt+horizontal drag |
| Hardness | How soft the brush edge is. Lower values produce softer edges |
| Opacity | The opacity limit of one stroke, separate from the opacity of the whole layer |
| Flow | Ink deposited with each brush dab. Lower values build up gradually where dabs overlap |
| Spacing | The distance between brush dabs. Higher values make individual dabs more distinct |
| Stabilization | How strongly input motion is smoothed |
| Pressure Size | Use pen pressure to control brush size |
| Brush Tip | Choose a round tip or an imported image tip |
| Symmetry | Mirror strokes across a plane perpendicular to the selected X, Y, or Z axis |
| Multi-Channel | Enable the channels to paint and set their values |
Symmetry mirrors strokes across one plane through the model’s origin, perpendicular to the selected X, Y, or Z axis. Check the guide in the 3D view. The mirrored target must also belong to the target texture set.
In the Brush panel, choose a preset from a category and save your adjusted settings as a preset. Use Import PNG Brush to add a custom tip. The eraser has its own panel for adjusting size, tip, and other settings.
You can also right-click a project image and choose Register as Brush Tip to open it in the Brush panel.
Brush tips and presets
Image brush tips use brightness and alpha as coverage: white paints strongly, while black or transparent areas do not paint. A 128×128 square PNG is recommended. Selecting a preset keeps your current color but adopts the preset’s painting channels. Reset this brush restores the selected preset, or defaults if none is selected. Saving a preset under an existing name replaces its settings.
Paint across UV-island boundaries in 3D
In Ver.0.1.2, the ordinary brush in the 3D view can paint across UV-island boundaries on connected surfaces of the same part. Draw across the boundary on the model, then inspect the result in the 3D view and UV Editor.
This improvement applies to the ordinary 3D brush. For the target areas of Polygon Fill and UV Shell Fill, see “Fill faces and UV islands” below. For strokes and fills on newly created 3D paths, see path UV-island boundaries.
Flow versus Opacity
A brush stroke is made from a sequence of small brush dabs. Flow controls the amount deposited by each dab; Opacity limits how strong a single stroke can become before you lift the pen.
| Goal | Setting to adjust |
|---|---|
| Build up paint gradually as you go over the same area | Lower Flow |
| Limit how strong one continuous stroke can become | Lower Opacity |
| Add or remove pressure-dependent changes in strength | Toggle Pressure Opacity |
For example, with Opacity at 50% and Flow at 10%, going over the same area without lifting the pen gradually builds up paint, up to that stroke's 50% limit. Lifting the pen and starting again creates another stroke that can add more paint. Flow at 0 deposits no ink. Compare the stroke preview at the top of the Brush panel and try a few strokes.
The eraser also has Flow and Opacity: they control gradual removal and the erasing limit of one stroke. To fade an entire layer, use the layer's Opacity instead.
On an ordinary Paint layer, the eraser affects all channels regardless of the brush’s channel switches. For erasing material coverage, see “Material painting channels” below.
Remove UV padding (strict)
Enable Remove UV padding (strict) in the Brush/Eraser panel to paint only pixels whose centers lie inside a UV island, disabling paint padding. A pixel that partly touches the UV boundary is not painted if its center lies outside.
- The default is off. Turn it on when you do not want paint padding outside UV islands
- This is a scene-wide setting, not a per-brush setting. It is saved with the scene, and changes support Undo/Redo
- Zoom in on a boundary in the UV Editor to compare the result. Because coverage follows exact pixel boundaries, check the model's seams as needed too
To export transparent areas outside UVs
This setting controls where paint is applied. Preferences → VRAM → Textures → Outside mesh UVs separately controls whether outside areas use the source image, become transparent, or keep the full texture. Strict painting alone does not make existing source-image pixels outside UVs transparent. Also check outside-UV export handling.
Color blending and blur
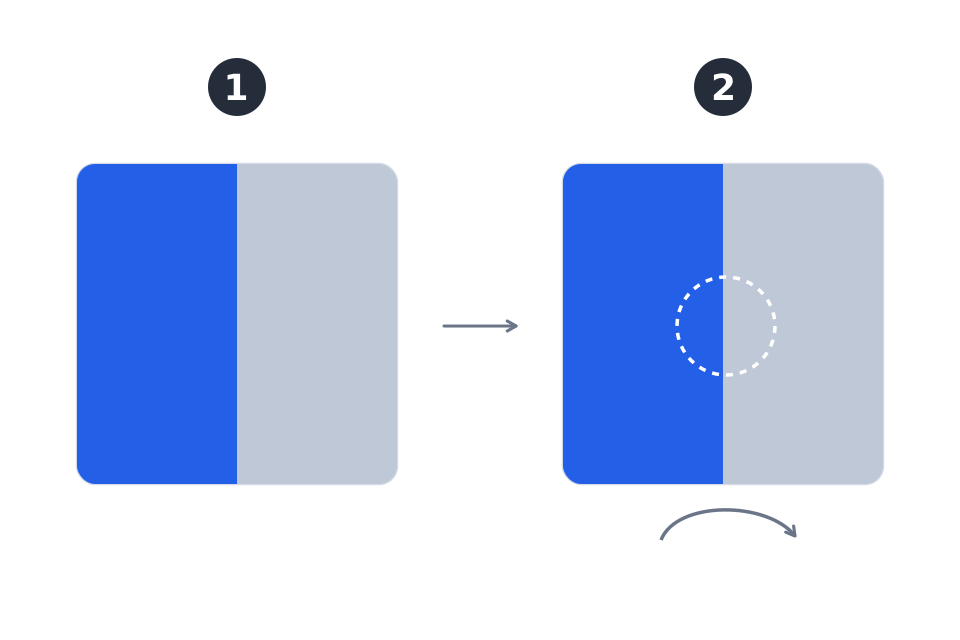
Press U or click the fingertip icon to open Color blending. Select a paint layer and drag in the 3D view or UV Editor. It uses existing colors without adding the selected color.
- Blur softens edges
- Color mix blends nearby colors
- Fingertip drags colors along the stroke
- Bristle blend preserves fine texture
Each brush retains settings such as size, strength, and density. Press B to return to ordinary painting. You can also soften masks and painted material regions.
Adjust blending and blur
Strength controls the effect amount, Blur width controls the sampling area, and Brush density controls the amount applied per dab. Color mix, Fingertip, and Bristle blend also expose Color stretch and Grain. On ordinary Paint layers, choose the affected channels. Masks and material coverage can be blended, but an empty mask must contain painted coverage first.
Fill faces and UV islands
Polygon Fill fills the clicked face. UV Shell Fill fills the UV island containing that face. Check the highlighted area on hover before clicking. Apply Pseudo Quad treats detected pairs of triangles as a single quadrilateral.
Paint with a material
Select the target texture set, then choose a material in the Asset Browser and paint with a brush. Polygon Fill and UV Shell Fill apply color, normals, roughness, and other properties together to the region clicked in the 3D view or UV Editor. Changing the material keeps the current painting mode.
Select a previously painted material layer or material folder to add more coverage. The eraser removes coverage within the brush area. When you start a new painted material from the Asset Browser, it is recorded in the currently selected texture set. Painting on an existing layer targets the set that owns that layer. Parts using the same material can share their final texture, so overlapping UVs can show changes on another part.
Material painting channels
Material painting and erasing follow the viewport display mode. BaseColor, Normal, Roughness, Metallic, Height, or Emission view edits only that channel. PBR, NPR, and Layer Mask view target all channels. Check “Paint / erase target” in Properties before adding or removing material.
Eyedropper and palette
While using the Paint tool, hold Ctrl+Shift to preview the composited BaseColor on the model. Hold Ctrl+Shift+left mouse button and move the cursor, then release the mouse button to pick the color. Releasing Ctrl+Shift before the mouse button cancels the operation. The color is sampled from BaseColor, not the lit image on screen.
The Color Palette offers a triangle or square picker, sliders, nearby colors, and a mixing pad. You can also enter RGB, HSV, or a hex code. Mix colors with the current brush. By default, hold Alt+left mouse button to preview a color on the pad, then release the button to adopt it. Clear resets the pad.
Release the left button while still holding Alt. Releasing Alt first cancels the pick.
By default, X switches foreground/background color, C toggles transparent color (eraser), and D resets the slots to black and white. In Swatches, choose a category and use Add Current Color to save a color. Click a saved color to use it or right-click to delete it.